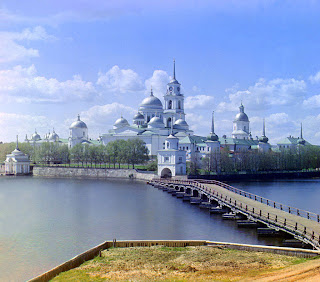
 This picture (and the series by Sergei Mikhailovich Prokudin-Groskii viewable here courtesy of the US Library Of Congress) were taken in the early 1900s, long before colour film was invented. But the colours you see are real, not painted in or faked. These images were made on black and white film by a process I'm going to try today, using this:
 That's a film camera, a roll of black and white film, and three colour filters. How is it possible to take a colour picture with this setup? A quick primer on colour theory might help- or you can skip straight to the instructions a bit further below.
In the additive colour model, the three base colours are red, green, and blue, and every other colour is a product of their interaction.
If you consider what happens when you mix red, green, and blue paint, you'll probably wonder why that makes any sense at all: you'd end up with some weird shade of brown. But light isn't paint, and it behaves quite a bit differently.
If you can still remember your high school physics classes, you'll probably remember that bit about how white light contains all visible wavelengths. Essentially, white light is every colour.
So it stands to reason that by variously combining the three base colours, we should be able to create white (with full intensity red, green, and blue) and black (with zero intensity RGB), plus any colour in between.
Let's put that theory to the test.
If you want to try this, you need
- A film camera
- A tripod
- Red, green, and blue filters
- A roll of black and white film
Mount the camera on the tripod and compose your image.
We want to keep the exposure the same through three separate pictures, so keep your camera on manual exposure mode. Meter and set your exposure through one of the filters if you have a TTL meter, or adjust your reading for the filter factor if you're using a hand-held meter.
Now, hold the red filter in front of the camera's lens, and take a picture.
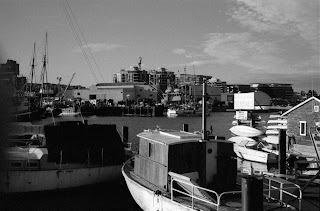
Wind carefully to the next frame, taking care not to jostle the camera, and do the same thing with the green filter in place of the red.
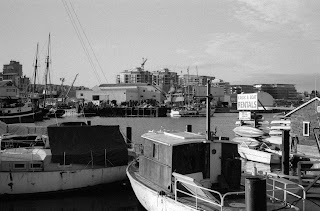
Wind carefully to the next frame and take a picture through the blue filter.
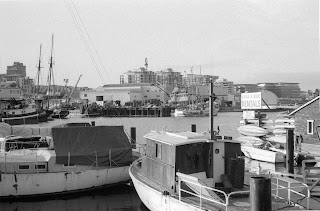
You now have three pictures of the same scene: one filtered through red, one filtered through green, and one filtered through blue.
Process and scan your film, or have the lab do it for you. The rest of the experiment will happen in your photo editor of choice (Photoshop or GIMP)
Open your red, green, and blue-filtered images in your image editor. Convert them to grayscale, and then create a new 8-bit RGB image the same size as your scans.
In Photoshop, you should see a "Channels" tab on one of the right-hand toolbars; select and copy your red-filtered image, and paste it into the new file's "Red" channel.
Now paste the green- and blue-filtered images into the Green and Blue channels, respectively. After some aligning, this happens:
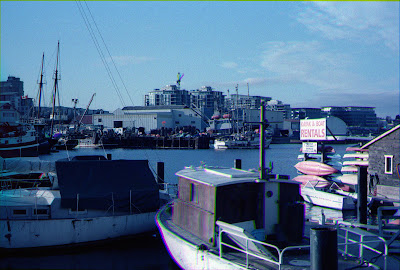
Not too bad for a first try. The colour fringing happens when something moves, like the boat in the foreground drifting slightly or the crane in the distance spinning- but when everything lines up, it looks surprisingly good. Higher-resolution pics are here if you want a closer look.
So it works, and it's a lot of fun- and even the colour fringing artifacts could be useful for spcial-effects or creative shooting. Give it a try!

1 comment:
The aligning problem is not just with moving objects taking different position on three negatives, but I have the same problem if I make a shot of perfectly static objects.
For whatever reason, three pictures when scanned will never be aligned properly - if you align the central area, the edges will be misaligned.
Computers, computers...
Post a Comment